Bathroom Tile Installer in Miami: What to Verify First
Hiring a bathroom tile installer in Miami? What to verify on waterproofing, large-format porcelain, niches, drains, and condo bath remodels before signing.
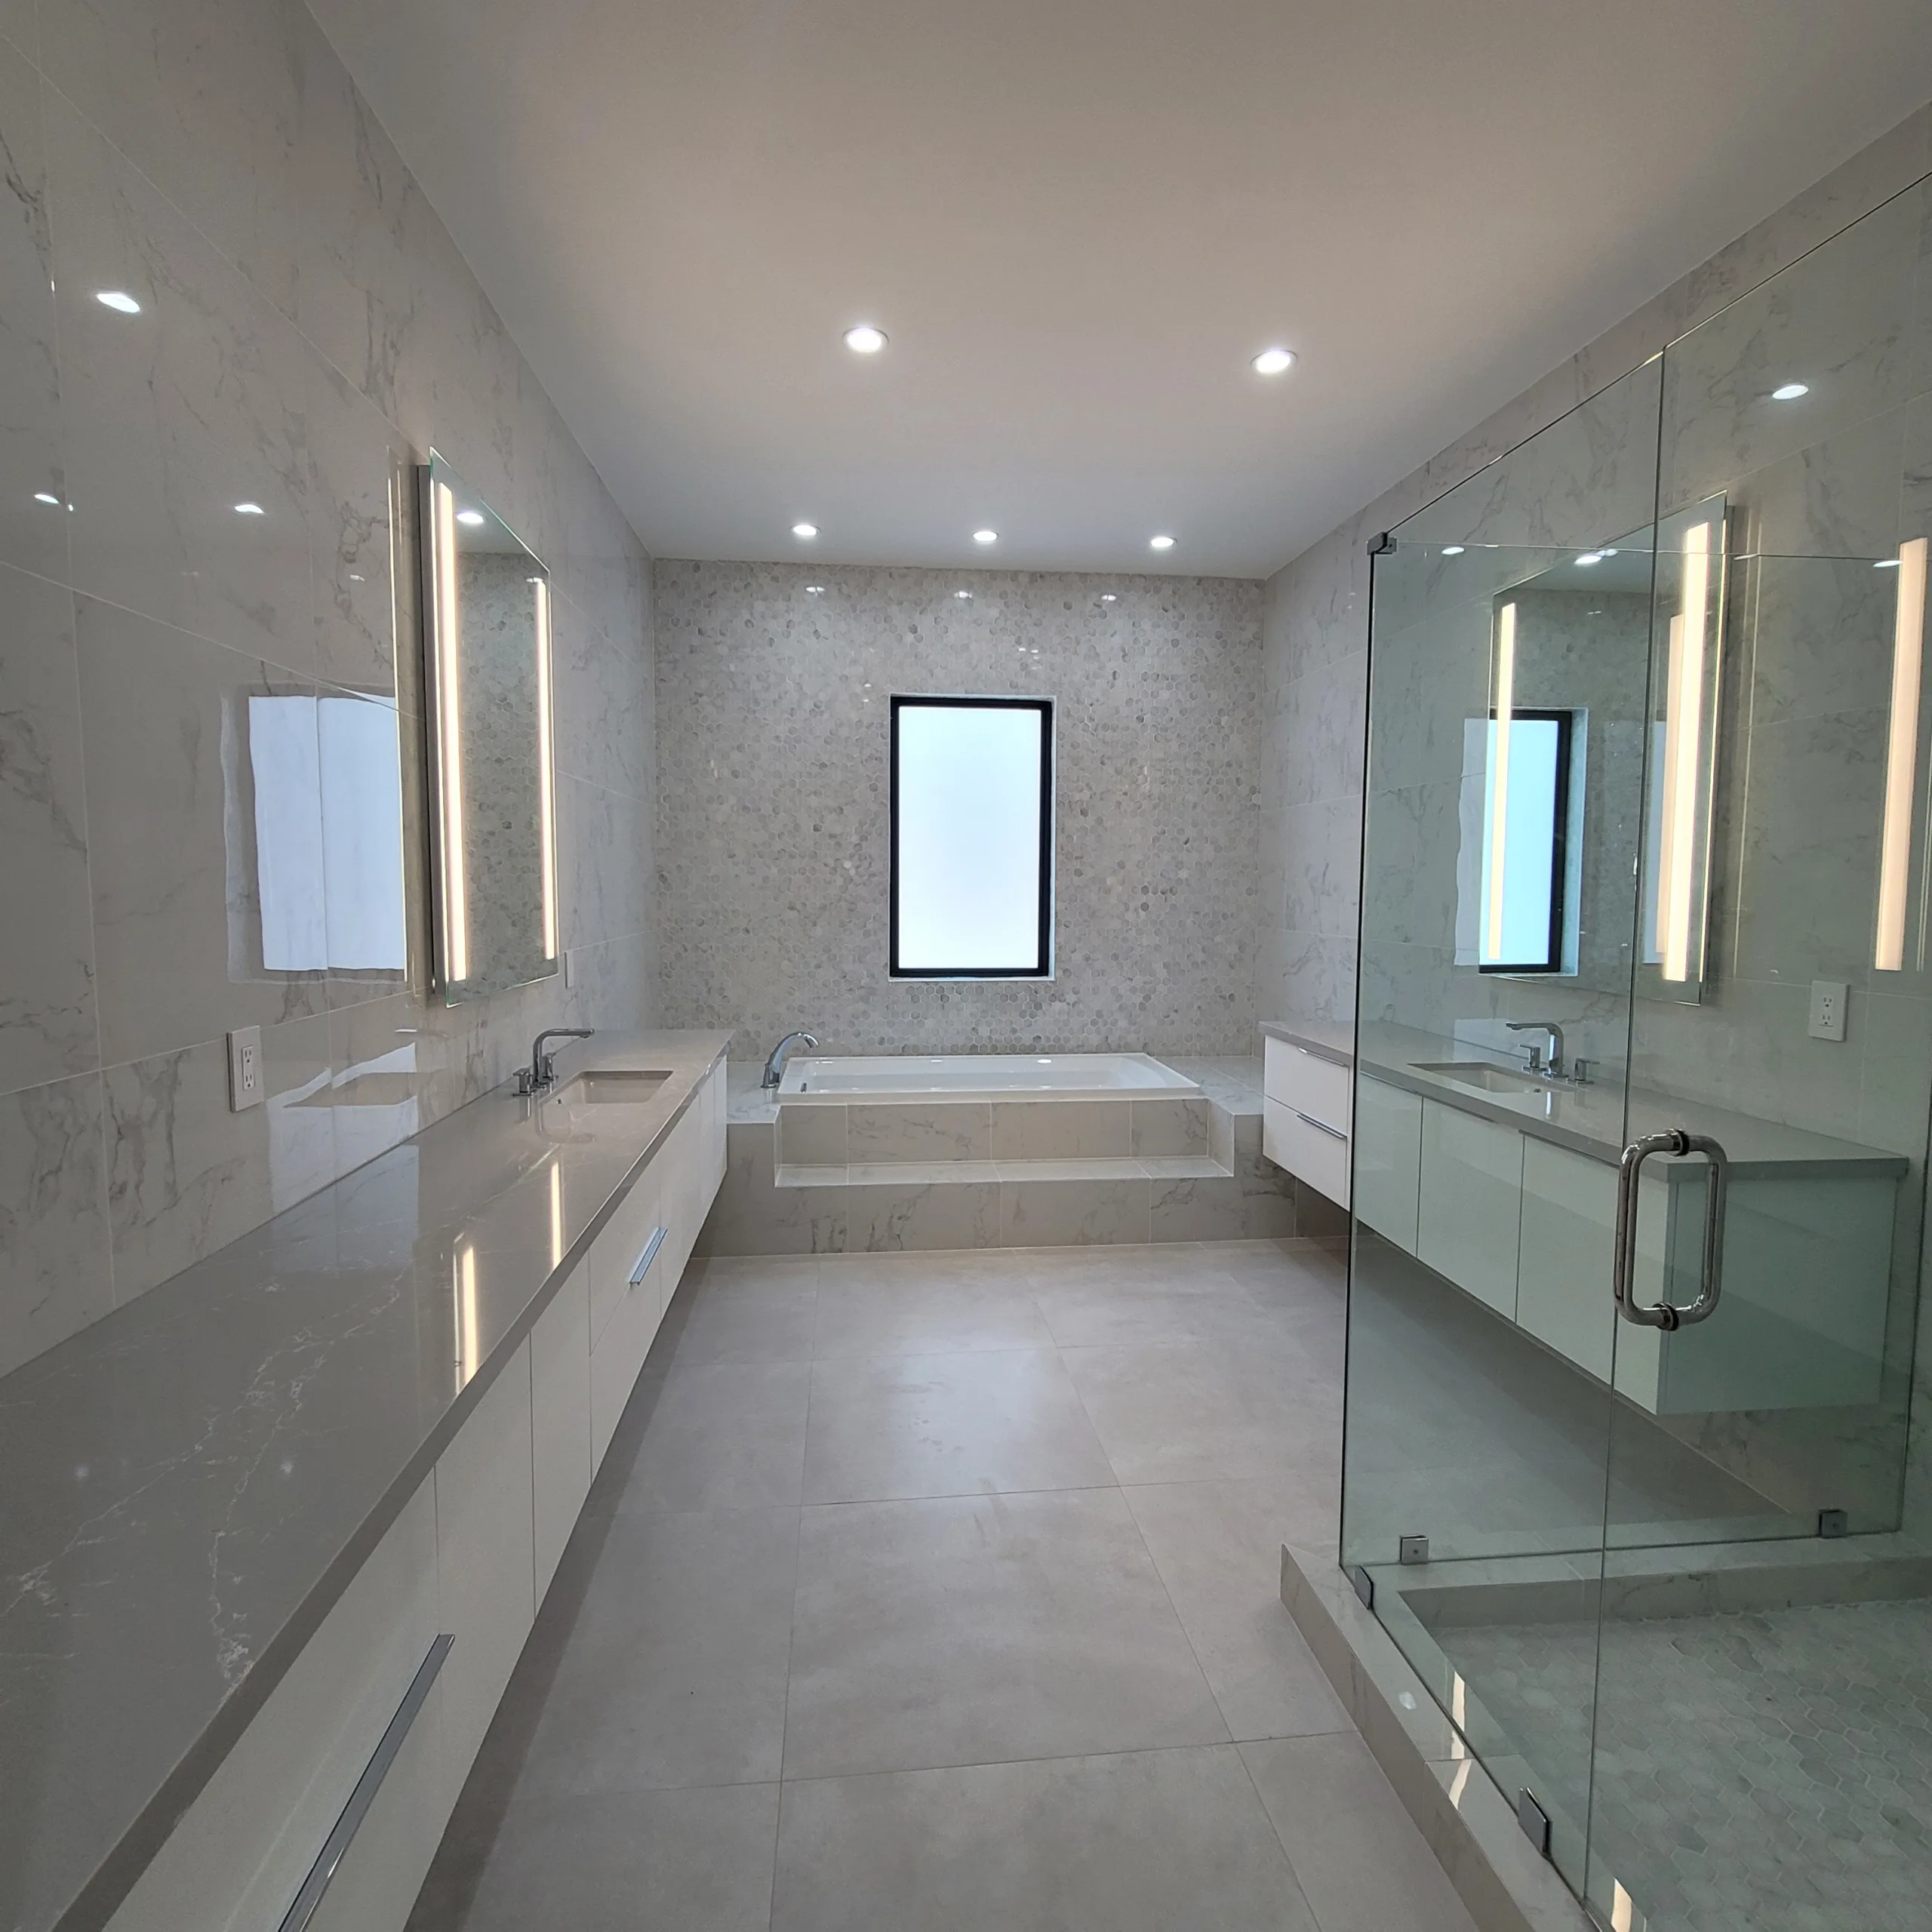
A bathroom tile installer is judged by what nobody sees on day one. The membrane behind the wall, the corner band at the curb, the slope under the slab, the seal at the drain — those four details decide whether a Miami bath reads tight in year one and still reads tight in year ten. The finished tile is the easy part.
Most calls we get from homeowners with a failed bath start the same way: the original installer was the lowest bid, the substrate was not waterproofed with a system, and the leak surfaced on the ceiling of the unit below. Below is what to verify before you sign with a bathroom tile installer in Miami — and what a real one will be willing to put in writing.
What a bathroom tile installer in Miami actually does
A bathroom tile installer in Miami is responsible for the entire wet-area assembly — substrate, waterproofing membrane, drain integration, mortar bed, tile or slab, grout, and movement joints — built to ANSI A118.10 and TCNA Handbook standards and tested with a 24-hour flood test before any tile lands. Tile is the visible 10%; the system underneath is the 90% that fails or holds.
In Miami specifically, that system has to handle high humidity, condo concrete substrates, salt air on coastal properties, and association rules around sound, vapor, and impact ratings. A bathroom tile installer who treats Miami like Phoenix or Boston will miss those conditions, and the bath will tell on them within two seasons.
Why bathroom tile work fails — and what a real installer is preventing
Bathroom tile rarely fails at the field of the tile. It fails at the seam, the corner, the drain, or the substrate. The four most common failure modes:
- Liquid-applied membrane painted on instead of bonded sheet. Liquid-applied products cure differently in a December Coral Gables build than an August Miami Beach build, and the cured film thickness is rarely measured. We bond Schluter Kerdi sheet membrane at a fixed mil thickness — every square inch in contact with the bonding mortar.
- Field-folded corners instead of preformed components. A folded sheet at an inside corner relies on overlap geometry that opens under thermal cycling. Schluter Kerdi-Kereck-FI preformed corners and Kerdi-Seal-PS pipe collars eliminate the field cut.
- Drain set as a hole in the membrane instead of bonded into it. Schluter Kerdi-Drain and Guru USA Evolux linear drains have integrated bonding flanges that fold into the waterproofing — the drain becomes part of the wet-area assembly rather than a penetration through it.
- Tile setting started before a flood test. A 24-hour flood test on the cured assembly is the only way to verify the system is continuous. Tile does not go on a failed test.
A serious installer prevents all four by spec, not by promise. The names of the components belong on the estimate.
The system behind the tile
Ask a bathroom tile installer to name the exact waterproofing system they install on every wet area. Generic answers are a flag.
The system we install on every shower, wet room, and steam enclosure is Schluter Kerdi waterproofing — bonded sheet membrane, Kerdi-Band over every seam, Kerdi-Kereck-FI preformed corners, Kerdi-Seal-PS pipe collars, and Kerdi-Drain or Kerdi-Line drain integration. The assembly is ANSI A118.10 compliant, the crew is Schluter Certified, and a 10-year Schluter system warranty is available on full-system builds. The full editorial walk-through — failure modes, condo liability, the flood-test protocol — lives in our shower waterproofing in Miami pillar.
The phrase to listen for is “system warranty.” It only applies when the entire wet-area assembly is the manufacturer’s components, installed by a certified crew, to manufacturer spec. Mixing in a non-system membrane, a non-system drain, or a non-system sealant voids it. The Miami Floors holds Schluter certified and Schluter certification across the firm.
Layout decisions that get made before the first cut
The expensive mistakes in a bathroom happen in layout, not in setting. A bathroom tile installer who skips the layout walk-through is going to make a thin cut at a niche, a misaligned grout line at the curb, or a slab seam that lands across a vanity wall instead of behind it.
Before the first cut, the layout should resolve:
- Where the slab seam lands relative to the vanity, the niche, and the drain.
- Whether the floor and wall joints align (the dry-jointed look) or run independently.
- Where the niche head, sill, and edges hit a horizontal grout line.
- How the curb (or the absence of one, on a curbless build) terminates the floor pattern.
- How the drain line — single-slope linear or four-way to a point drain — integrates with the slab geometry.
Single-slope drainage with a linear drain at one wall is the layout that lets a 1620 × 3240 mm Laminam or Neolith slab stay continuous. Four-way drainage to a point drain forces cuts at every drain edge and is rarely the right call on large-format. We mock the layout up before slab is ordered.
Drains, niches, and curbless showers
The detail-level decisions that separate a competent bathroom tile installer from a builder-grade one:
- Drain spec. Guru USA Evolux linear drains at 24”–72” lengths, 304 or 316 marine-grade stainless, with integrated bonding flange to the Kerdi assembly. Schluter Kerdi-Drain on point-drain showers. Both pass the flood test the same way; the choice is aesthetic.
- Niche construction. Schluter Kerdi-Board prefab and field-cut niches sized to the slab grid, with sealed corners and a sloped sill that drains to the field. A niche set with no drainage slope and no bonded membrane is a guaranteed failure.
- Curbless thresholds. A curbless or zero-threshold shower needs the subfloor recessed 1.25 to 2 inches across the entry zone, framed to a calibrated quarter-inch fall, and waterproofed past the shower opening. The entire bathroom floor becomes the wet area. See custom shower systems for the curbless build sequence.
- Bench and seat detailing. Wall-hung benches framed and waterproofed before the slab arrives, anchored into stud blocking, with the cantilever sized for live-load. A bench bracket added after tile is a leak path.
If the installer cannot describe these details in plain English on the walk-through, they are not the right hire.
Large-format porcelain in a Miami bathroom
Most Brickell, Coral Gables, and Key Biscayne bathrooms we are spec’d into call for large-format porcelain — Laminam at 1620 × 3240 mm, Neolith at 1500 × 3200 mm, Dekton at 1440 × 3200 mm, in 5–6 mm wall thickness and 12 mm floor thickness. The slab reads as one continuous plane with a 1.5 mm dry joint.
That format changes the install. The substrate has to be flat to ± 1.5 mm over a 3 m straightedge. The slab has to be handled on a vacuum-frame rig to prevent flex. Cuts are made on a Raimondi wet rail in the staging area, not at the wall. Setting uses LATICRETE 254 Platinum back-buttered on the slab plus an LHT mortar bed combed at 3/4” notch on the substrate, with RAIMONDI RLS leveling clips at every 18 inches of perimeter.
The full spec for large-format porcelain slab installation covers the load path, the elevator clearances, the partner systems, and the in-house lifters we operate on every slab over 1 m². For the editorial-format deep-dive — Laminam vs Neolith vs Dekton specs, layout decisions, common failures — read large-format porcelain installation in Miami.
Condo bathroom rules in Miami
Brickell, Sunny Isles, Key Biscayne, and Miami Beach high-rise associations almost always require:
- Building permit for any plumbing, electrical, or structural work, with rough-in and final inspections. Cosmetic-only work does not need one. The Miami Floors pulls the permit on every contracted project.
- HOA construction package — drawings, scope, insurance certificate, contractor license, working hours, elevator reservation, floor protection plan. Most boards approve in two to four weeks.
- Sound and impact rating — typically IIC 50 or higher for hard-surface flooring above ground level. We meet the spec with Schluter Ditra-Heat-DUO or QuietWalk Plus under porcelain.
- Working hours — typically Mon–Fri 8a–5p, no weekend setting, no jackhammering after 10a.
- Insurance certificate naming the association as additional insured.
A bathroom tile installer who has not closed a Brickell or Sunny Isles condo before will burn the first month on association paperwork. Ask for an HOA package they have already submitted.
Five things to verify before signing
Five direct questions the right installer will answer specifically:
- What waterproofing system will be used and who is certified to install it? Schluter Kerdi installed by a Schluter Certified Installer is the standard.
- Will there be a 24-hour flood test before tile lands, and what is the protocol on a failed test? A specific answer with a re-test step is the right one.
- Who handles plumbing rough-in coordination — the tile installer or a separate trade? A single point of accountability is what keeps the schedule honest.
- What is the layout approval step before cuts begin? The slab seam, niche elevations, and drain line should be approved on a drawing — not improvised on site.
- Will the owner or lead installer walk the project at demo close, waterproofing, slab set, and finish? Four signed milestones is what protects a six-week schedule.
If any answer is vague or any step is left out of the estimate, the price is incomplete.
When The Miami Floors is the right fit
Bathroom remodeling at The Miami Floors runs one bathroom at a time — no concurrent jobs, no split crews. We carry the in-house demo, framing, plumbing rough-in, waterproofing, slab installation, grout, and trim. Schluter Kerdi waterproofing on every wet area. Guru USA Evolux drains. Laminam, Neolith, and Dekton large-format porcelain when the design calls for it. Ivan personally walks every project at four milestones — demo close, waterproofing flood-test, slab set, and finish — before any phase advances.
The firm is led by Ivan Herrera. The Miami Floors is Schluter certified, and built on more than 20 years of residential bath, slab, tile, and stone work across Miami-Dade and Broward — Brickell, Coral Gables, Key Biscayne, Miami Beach, and Pinecrest.
If you are comparing bathroom tile installers in Miami, start with the system behind the tile. For the broader vetting checklist on tile work generally, see how to vet tile installers in Miami. For scope, budget bands, and condo overhead on a full bath project, see our bathroom remodeling in Miami pillar. For the materials themselves, see our Miami flooring material guide.
Filed under
About the author
Ivan HerreraFounder, The Miami Floors
Ivan Herrera leads The Miami Floors and personally walks each project before sign-off. His work centers on large-format porcelain, waterproof shower systems, stone, and exterior porcelain surfaces across Miami-Dade and Broward.
Related Posts
3posts
Bath Renovation Miami Beach: Two Building Stocks, Two Installs
Ivan Herrera · April 30, 2026
Bathroom Remodel Cost Miami: Timeline and Budget by Scope
Ivan Herrera · April 30, 2026
Shower Niche Waterproofing: Niches, Benches, and the Four Corners That Fail
Ivan Herrera · April 30, 2026